
Text instruction
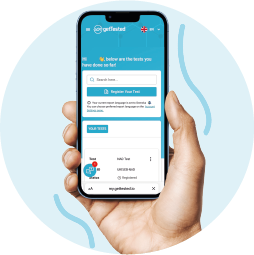
Register your kit before proceeding!
Register your kit before proceeding!
Scan your unique QR code or go to my.gettested.io/login create an account.
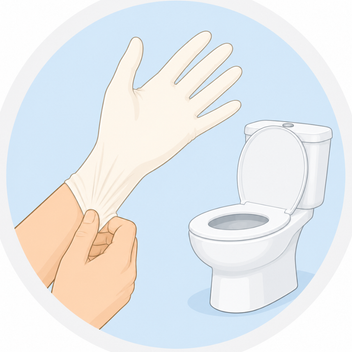
On the day of collection
On the day of collection, put latex glove on, then pass urine into the toilet if necessary.
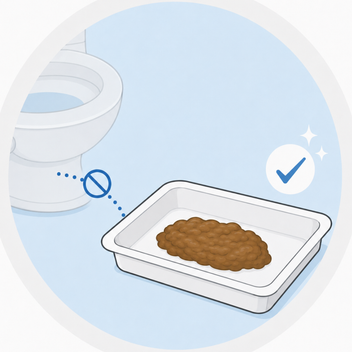
Pass stool
Pass stool onto the collection tray without contaminating it with urine.
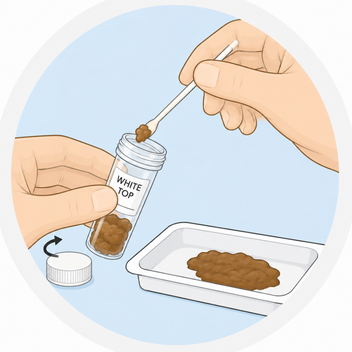
Using the spoon
Using the spoon handle inside the cap of the WHITE TOP vial (no liquid), collect several portions of the stool from areas of various colours and textures, including any visible blood or pus. Continue to add until the WHITE TOP vial is half to three-quarters full. Once completed, tighten the cap.
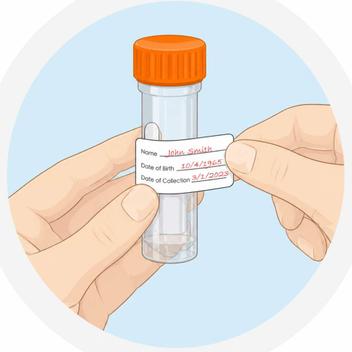
Add details
Complete all details on the adhesive label provided and apply label to the ORANGE TOP vial.
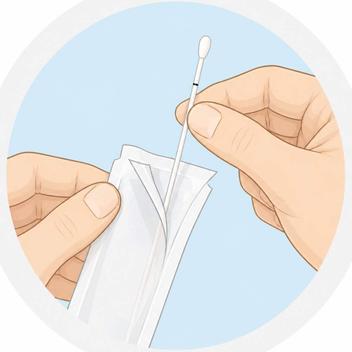
Remove the swab from the peel pouch
Remove the swab from the peel pouch. Hold the shaft applicator above the marked breakpoint. Do not touch the swab tip.
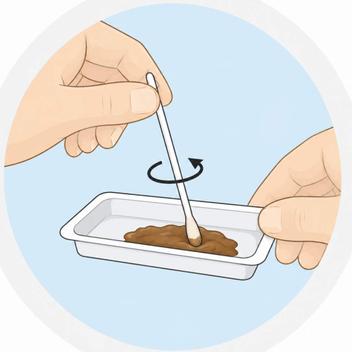
Insert the tip of the swab
Insert the tip of the swab into the stool sample tray and twist until it is evenly coated in stool. DO NOT spoon or scoop the specimen with the swab.
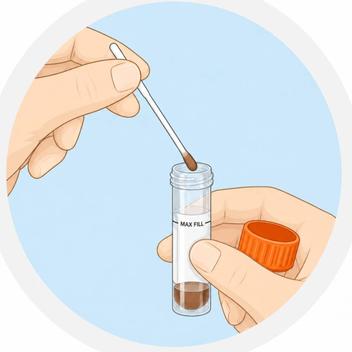
Remove and examine
Remove and examine to make sure there is fecal material evenly coated around the tip of the swab. Transfer the swab into the ORANGE TOP vial and check that the “MAX FILL” line on the label is not exceeded.
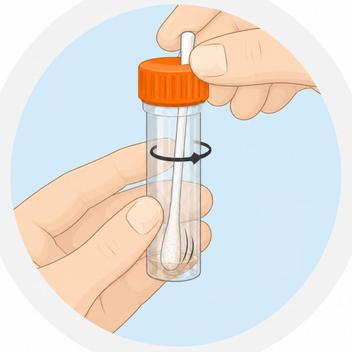
Holding the swab
Holding the swab shaft, mix the stool specimen against the side of the ORANGE TOP vial to evenly disperse the stool into the liquid.
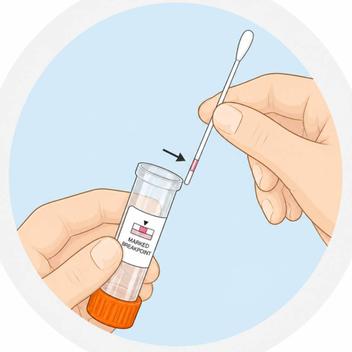
Hold the vial away from your face
Hold the vial away from your face. Holding the end of the swab shaft, place the marked breaking point against the rim of the vial. Ensure you are holding the swab shaft securely.
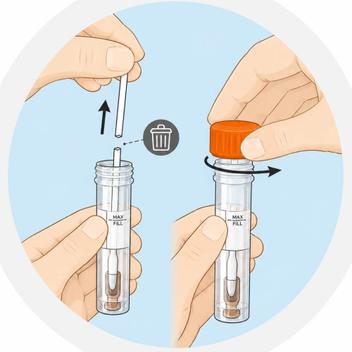
Bend the swab
Bend the swab to break at the marked breakpoint. If needed, gently twist the shaft between thumb and forefinger to completely remove it. Discard the broken upper part of the swab shaft and tighten the cap.
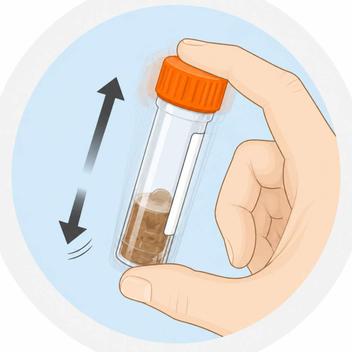
Shake
Shake the vial until the sample has been thoroughly mixed.
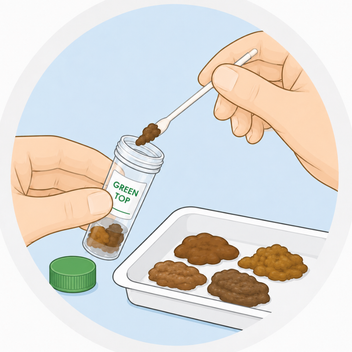
GREEN TOP
Using the spoon handle inside the cap of the GREEN TOP vial, collect several portions of the stool from areas of various colours and textures, including any visible blood or pus.
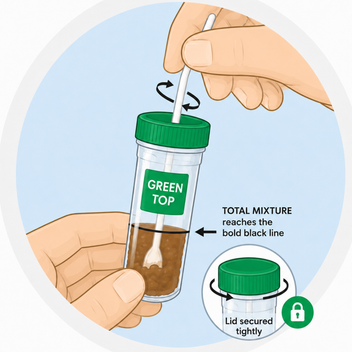
Mix stool
Continue to add and mix stool through liquid until the TOTAL MIXTURE reaches the bold black line. DO NOT remove any of the solution if it has exceeded the bold black line, simply ensure the lid is secured tightly.
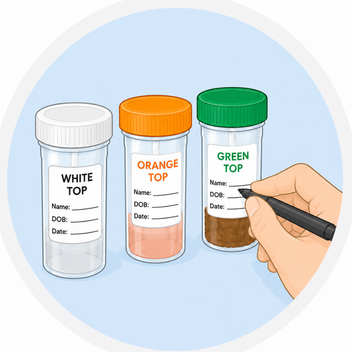
Label vials
Label the WHITE TOP, ORANGE TOP and GREEN TOP vials with your name, date of birth and date of sample collection.
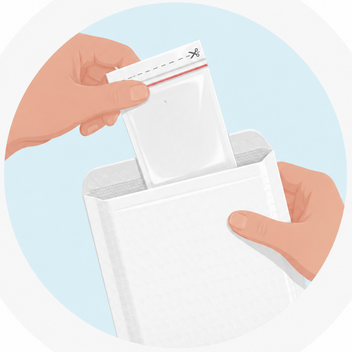
Post sample
Post the samples on the same day. If this is not possible, keep the samples refrigerated overnight only and post the following day. DO NOT freeze.