
Text instruction
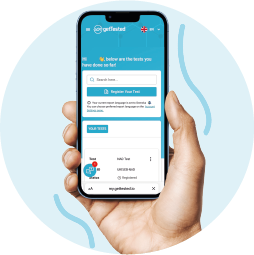
Register your kit before proceeding!
Register your kit before proceeding!
Scan your unique QR code or go to my.gettested.io/login create an account.
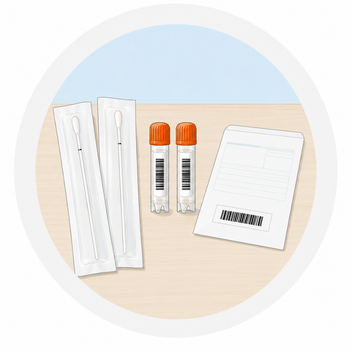
Prepare Swabs and Vials
Place the unopened swabs and vials on a clean, level surface. Each vial has a barcode label with a unique patient identifier. Ensure this barcode number is written in the “TEST REQUESTED” section of the request form.
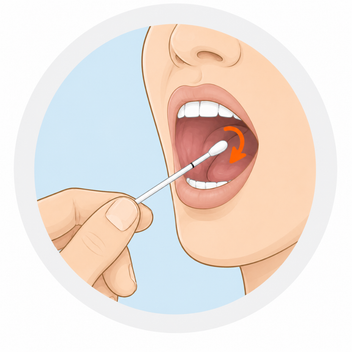
Swab the Inside of Your Cheek
Remove the first swab from its package. Firmly scrape the inside of one cheek while rotating the swab for 45 seconds.
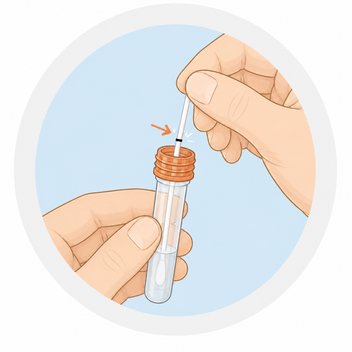
Insert Swab Into Orange Top Vial
Open the first vial and insert the swab with the swab tip facing down. Align the black line on the swab with the edge of the vial and snap it off, leaving the swab tip inside the vial’s liquid. Tighten the orange cap securely.
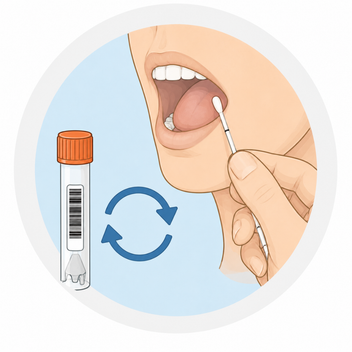
Repeat on the Opposite Cheek
On the opposite cheek, repeat the same process using the second swab and second vial.
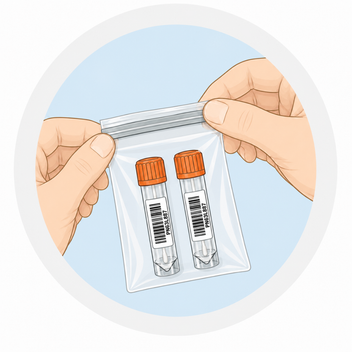
Place Vials Into Specimen Transport Bag
Ensure the orange cap is securely fastened on both vials. Check that the barcodes on each vial match the barcode on your specimen transport bag. Insert both vials into the sealed section of the specimen transport bag and seal securely.
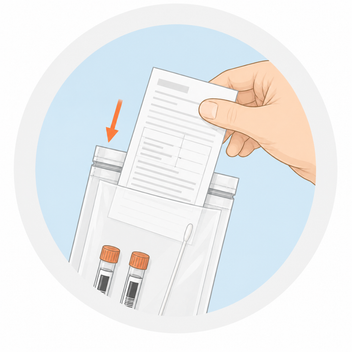
Insert the Request Form
Ensure that the request form has been completed and place it into the non-sealable section of the specimen transport bag.
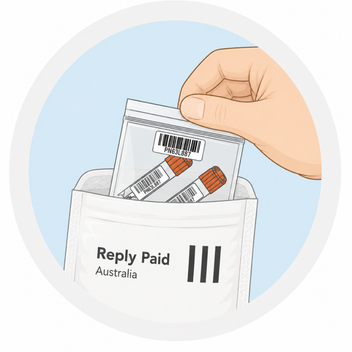
Place Bag Into Reply Paid Envelope
Place the specimen transport bag into the reply paid padded envelope and return it via your nearest post outlet or express post bin on the same day.