
Video instruction
Text instruction
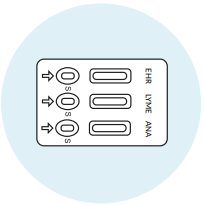
Preparation
Make sure that the test is at room temperature. If the test was stored in the fridge, let the cassette reach room temperature (15–25°C / 59–77°F) before testing. This ensures accurate results.
Prepare all materials on a clean, flat surface.
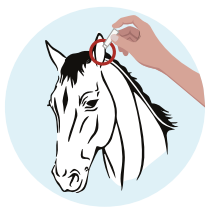
Sample Collection
Use the provided lancet to prick the horse’s ear and create a small puncture.
Collect one drop of blood from the ear using the provided pipette.
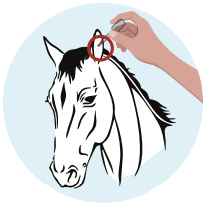
Mix the Sample
Drop 1 drop of blood into the vial of assay buffer. Mix well to ensure the blood and buffer are fully combined.
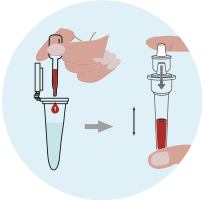
Apply Sample
Drop 1 drop of blood into the vial of assay buffer. Mix well to ensure the blood and buffer are fully combined.
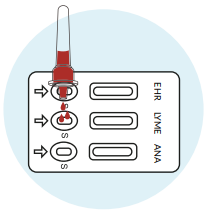
Apply Sample
Add 3 drops of the mixed sample into each sample hole on the test cassette.
3 drops in EHR
3 drops in LYM
3 drops in ANA

Wait and Read Results
Wait 5–10 minutes before reading the result. Do not interpret results after 10 minutes, as they are considered invalid.
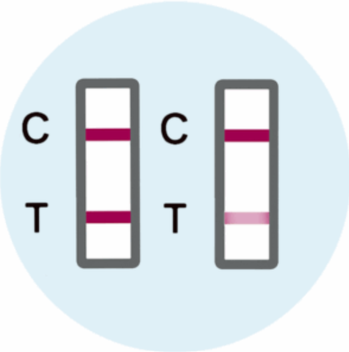
Positive Results
Both the C band and the T band are visible, regardless of whether the T band is strong or faint.
If the result is positive, contact your veterinarian promptly for further examination and confirmation.
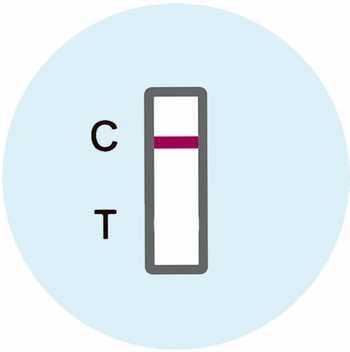
Negative Result
Only a clear C band is visible.
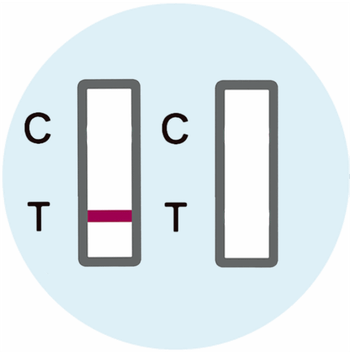
Invalid Result
No colored C band appears, regardless of whether the T band is visible.
A retest is recommended.