
Video instruction
Text instruction

Register Test-ID
Before you start, you need to register your test-ID. Your test kit contains a sticker with your unique test-ID. If you need help creating an account, you can check our guide.
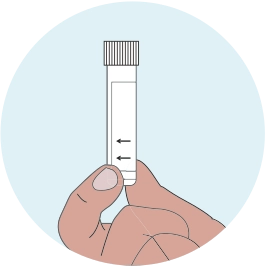
Grab The Provided Collection Tube
There should already be liquid in the tube before you use it. Check that the liquid reaches the 2ml "From→" line before use.
If the solution is cloudy, warm the tube gently in your hands for a few minutes.
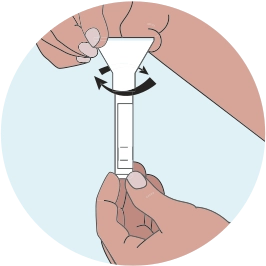
Unscrew The Tubes Cap And Attach The Provided Funnel
Be careful not to spill the liquid inside the tube and attach the collection funnel. Do not over-tighten it, this will make it very hard to get saliva into the tube as the hole will be too small.
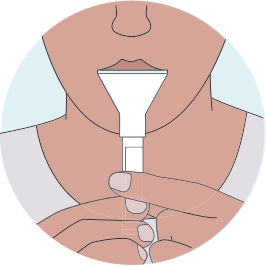
Spit Into The Funnel
If the saliva does not flow easily into the tube, unscrew the funnel partially.
Fill the tube with saliva until it reached the 4ml "Fill To→" line (not including bubbles).
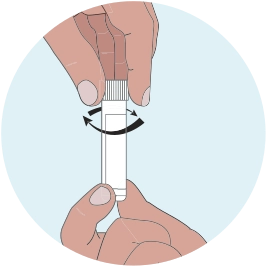
Unscrew The Collection Funnel
Replace it with the tube cap and screw it on tightly. Discard the funnel.
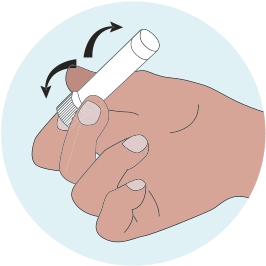
Shake The Collection Tube
Shake it several times to mix the saliva with the solution.
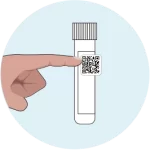
Attach Test ID
Ensure that your test ID is attached to the sample tube.
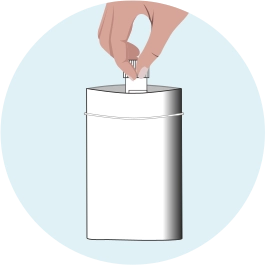
Put Sample In Provided Plastic Zip Bag
Place the sample in the provided plastic zip bag to protect it during transport.
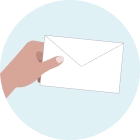
Sending Sample
Put the foil pouch in the envelope and send it.
Unsure on how to do send? Locate the “Send your laboratory sample” card included in your kit.
Note: Send your sample the same day that you perform the test (preferably a Monday or Tuesday).