
Video instruction
Text instruction

Register Test-ID
Before you start, you need to register your test-ID. Your test kit contains a sticker with your unique test-ID. If you need help creating an account, you can check our guide.
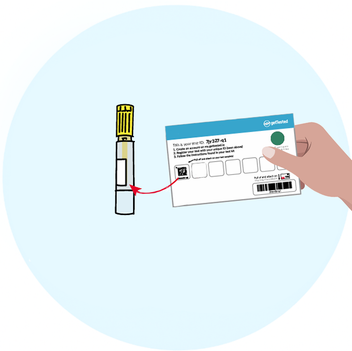
Test ID On Yellow Stool Tube
Open the transport tube and place the test ID on the yellow tube.
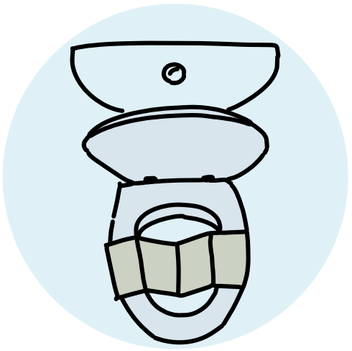
Collect Stool Sample
Place the stool sample collector on the toilet seat.
Note: IMPORTANT: THE STOOL SAMPLE SHOULD NOT COME INTO CONTACT WITH THE TOILET BOWL OR WATER.
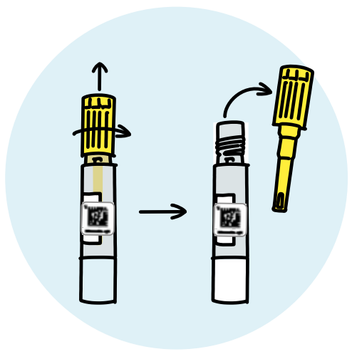
Open Yellow Stool Tube
Place the yellow stool collection tube up-right, to prevent the liquid from escaping. Unscrew the yellow cap counterclockwise and remove the sample lance.
Note: IMPORTANT: THE WHITE CAP ON THE YELLOW TUBE MUST ABSOLUTELY REMAIN UNTOUCHED. PLEASE DO NOT OPEN.
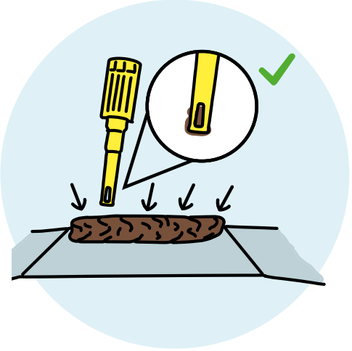
Collect Stool Sample At Four Spots
Insert the sample lance at four different points into the stool sample, until the sample lance is filled.
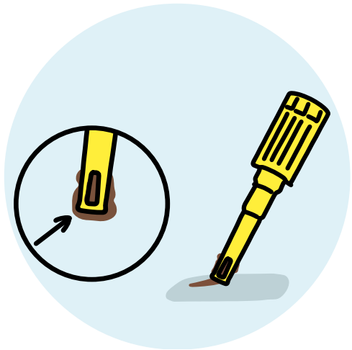
Remove Excess
Remove excess stool from the top of the sample lance.
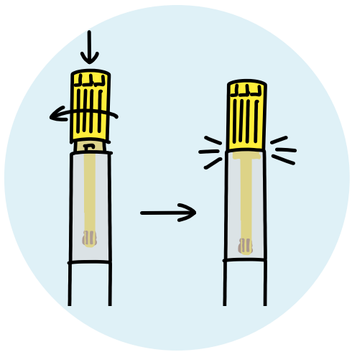
Close Cap Tightly
Return the sample lance back into the yellow stool collection tube and turn the yellow cap until resistance engages and it can not be opened.
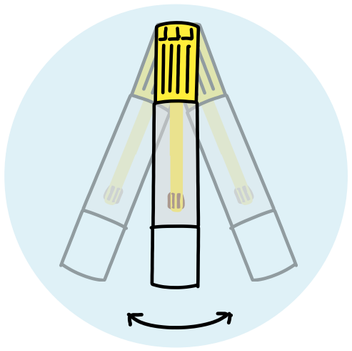
Swirl Tube Gently
Then swirl the yellow stool collection tube back and forth several times.
Note: Do not shake! Swirl it gently several times.
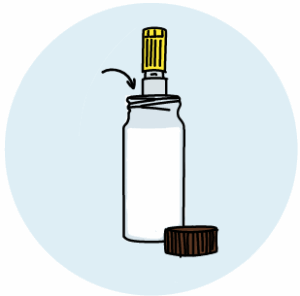
Place Yellow Tube in Container
Place the yellow tube in the transport container.
Place Stool Tube in Return Envelope
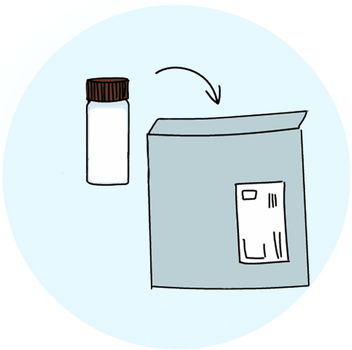
Pack the stool collection tube in the enclosed return envelope and seal it.
Note: Send your sample at the beginning of the week (preferably Monday or Tuesday) to avoid delays. Keep the sample refrigerated until sending.
Wait 10-15 Business Days For Results
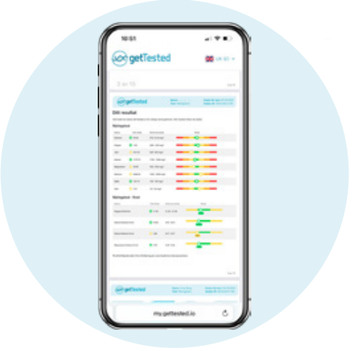
Results are usually available 10–15 business days after we receive your sample.
As soon as your results are ready, we'll notify you by email and text message. Your results will then be available to view in your my.gettested.io account.