
Video instruction
Text instruction
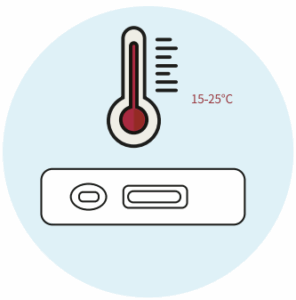
Preparation
If the test was stored in the refrigerator, allow all materials (including the test cassette and buffer) to reach room temperature (15–25°C / 59–77°F) before testing.
Prepare a clean and flat working surface.
Have all materials ready before starting the test.
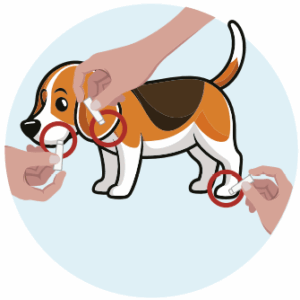
Sample Collection
Use the provided lancet to gently prick the dog's ear or paw.
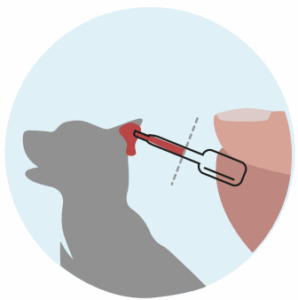
Collect Sample
Collect one drop of blood using the provided pipette.
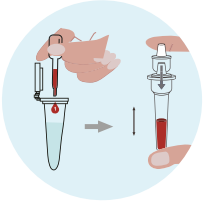
Mix the Sample
Add 1-2 drops of blood into the assay buffer vial and mix well to ensure the blood is fully diluted.
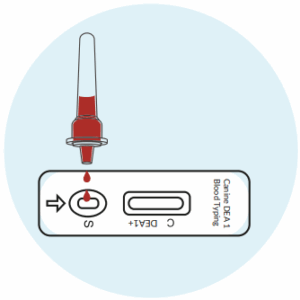
Apply Sample
Add 2-3 drops of the diluted sample into the sample hole of the test cassette.

Wait and Read Results
Wait 5–10 minutes before reading the result. Do not interpret results after 10 minutes, as they are considered invalid.
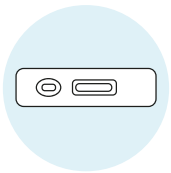
Interpret the Results
Positive (DEA1+): Two lines appear (C and DEA1), even if the DEA1 line is faint. This means your dog’s blood type is DEA1 positive.
Negative (DEA1–): Only one clear C line appears. This means your dog’s blood type is DEA1 negative.
Invalid: No C line appears — repeat the test with a new cassette.