
Video instruction
Text instruction

Register Test-ID
Before you start, you need to register your test-ID. Your test kit contains a sticker with your unique test-ID. If you need help creating an account, you can check our guide.
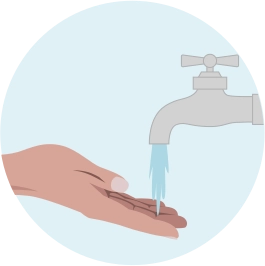
Wash Hands
Wash your hands in warm water and massage your hand to increse blood flow. Dry your hands.
Shake your hands to get the blood flowing.
Note: Doing a blood test without stimulating blood circulation might prove difficult, so please do not skip this step!
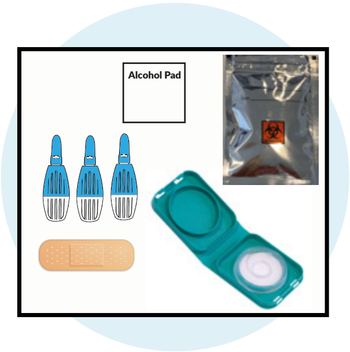
Prep Your Space
Open the silver pouch and take out the test cassette.

Disinfect Your Finger
Use the alcohol swab to disinfect the finger tip that you will prick.
Let the alcohol dry completely before proceeding.

Remove Protective Cover From Lancet
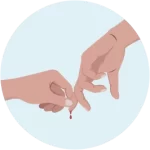
Encourage Blood Flow
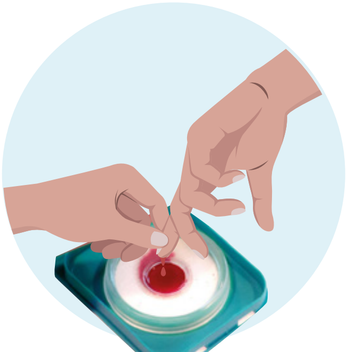
Drip Blood Into The Collective Device
Drip blood in the middle of the collective device. Do not touch or tap on the collective deivce, let the blood drip on to it. Standing up will help encourage blood flow.
It is very important that you fill the circle completely, otherwise the lab will not be able to complete the test and you will need to send in a new one.
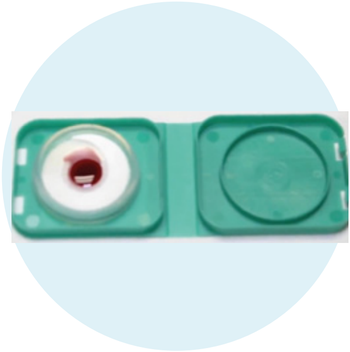
Let Dry For 2 Minutes
Allow the sample to air dry for 2 minutes.
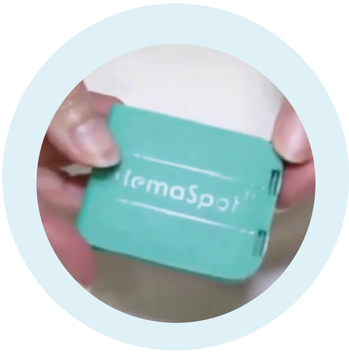
Close Cassette
Close the lid of the cassette.
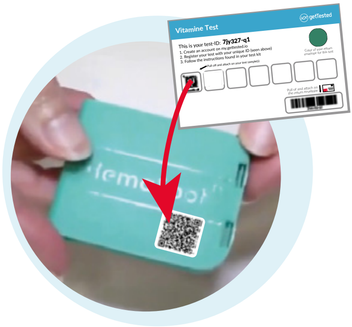
Place Test-ID Onto The Cassette
Place the sticker with your unique test-ID onto the test cassette. Place the device into the biohazard bag and leave the preservative packet inside the bag.
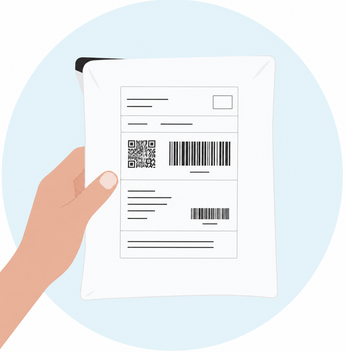
Sending Sample
Put the sample in the provided envelope and send it.
Note: Send your sample at the beginning of the week (preferably Monday or Tuesday) to avoid delays. Keep the sample refrigerated until sending.
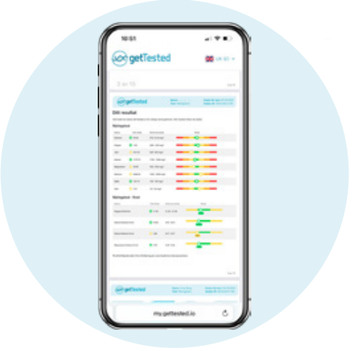
Wait 10-15 Business Days For Results
Results are usually available 10–15 business days after we receive your sample.
As soon as your results are ready, we'll notify you by email and text message. Your results will then be available to view in your my.gettested.io account.