GetTested
    Back to instructions

    Video instruction

    Video 1 of 2

    Text instruction

    Step 1 - image 1
    1

    Step 1

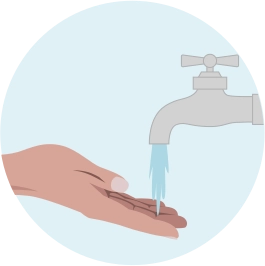
    Wash your hands in hot water for about a minute. This will increase blood circulation in your fingers. Dry your hands. Doing a blood test without stimulating blood circulation might prove difficult, so please do not skip this step.
    Step 2 - image 1
    2

    Step 2

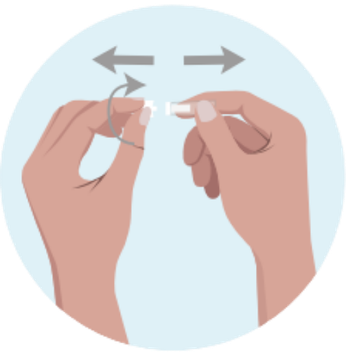
    Rotate and pull out the protective cover on the blood lancet.
    Step 3 - image 1
    3

    Step 3

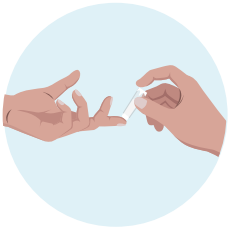
    Disinfect your “test finger” with the supplied disinfectant paper. Wait a few seconds until the finger is completely dry.
    Step 4 - image 1
    4

    Step 4

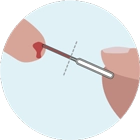
    Place your hand on a flat surface. Put the lancet diagonally toward the test finger and press down the button. Make sure the lancet is pressed against the finger the whole time.
    Step 5 - image 1
    5

    Step 5

    Stand up. We recommend that you stand up at this stage to let the blood in your arm flow downward. Help the blood drops come out by massaging the finger toward the needle stick. Wipe off the first drop of the blood.
    Step 6 - image 1
    6

    Step 6

    Without squeezing the capillary dropper bulb, put it in contact with the blood. The blood migrates into the capillary dropper through the capillarity to the line indicated on the capillary dropper. You may massage again your finger to obtain more blood if the line is not reached. Try to avoid air bubbles as much as possible.
    Step 7 - image 1
    7

    Step 7

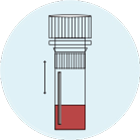
    Add the blood into the plastic tube with dilution buffer.
    Step 8 - image 1
    8

    Step 8

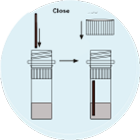
    Close the tube and shake the sample by hand forcefully for approximately 10 seconds so sample and dilution buffer mix well.
    Step 9 - image 1
    9

    Step 9

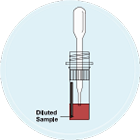
    Withdraw the mixed solution from the tube with the dropper.
    Step 10 - image 1
    10

    Step 10

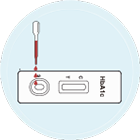
    Add 3 Drops of Diluted Sample. Wait for the colored lines to appear. The result should be read at 10 minutes . Do not interpret results at or after 20 minutes.
    Step 11 - image 1
    11

    Step 11

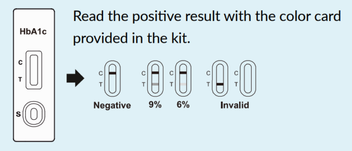
    Read the positive result with the color card provided in the kit.
    Positive results ( > 6% / 9%). - image 1
    12

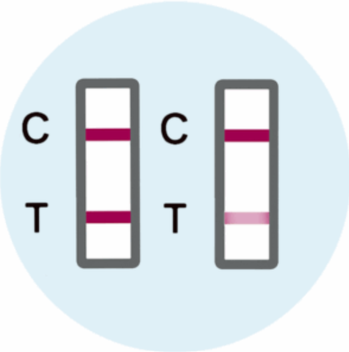
    Positive results ( > 6% / 9%).

    Two colored lines appear. One colored line should always appear in the control line region (C) and another line should be visible in the test line region (T).

    NOTE: The intensity of the color in the test line region (T) will vary depending on the concentration of HbA1c present in the specimen. Compare the test line with the color card provided in the kit to confirm whether the HbA1c level is above 6%.
    Negative results (< 6% or no T line) - image 1
    13

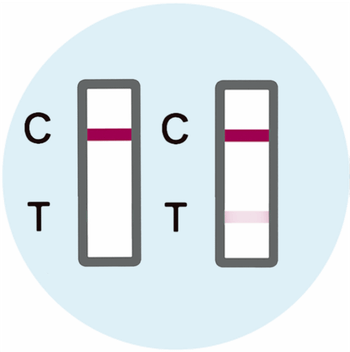
    Negative results (< 6% or no T line)

    One colored line appears in the control line region (C). No line appears in the test line region (T), or the test line is weaker than the reference line representing 6% on the color card.

    This indicates HbA1c is at a healthy level.
    Invalid results. - image 1
    14

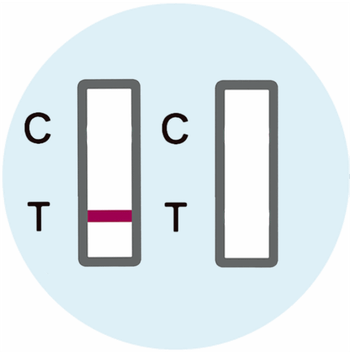
    Invalid results.

    Control line fails to appear.

    Insufficient specimen volume or incorrect procedural techniques are the most likely reasons for control line failure. Review the procedure and repeat the test with a new test. If the problem persists, discontinue using the test kit immediately and contact our support team.