
Video instruction
Text instruction
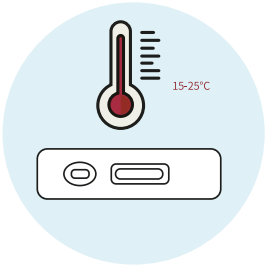
Preparations
Allow all materials, including specimen and test device, recover to 15–25°C before running the assay.
Take out the test card from the foil pouch and place it horizontally.
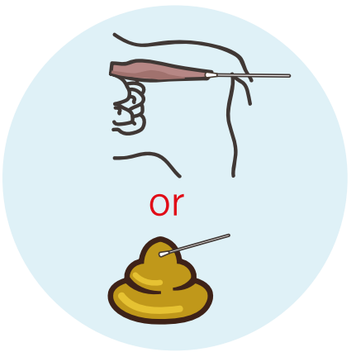
Collect Stool Sample
Collect feces with the swab stick from cloaca or on the ground.
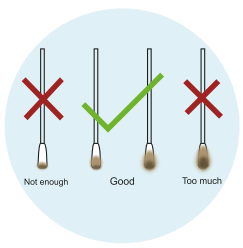
Collect The Correct Amount
The middle swab shows the correct amount of sample.
The swab should be evenly coated with a visible layer of sample, without clumps, to ensure accurate analysis.
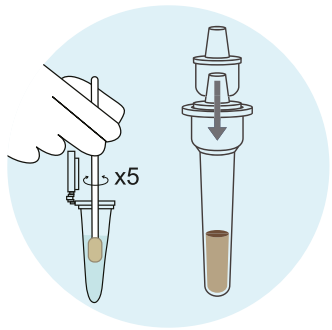
Mix the Swab in the Buffer Tube
Insert the wet swab into the provided assay buffer tube.
Agitate / mix it properly to assure good sample extraction.
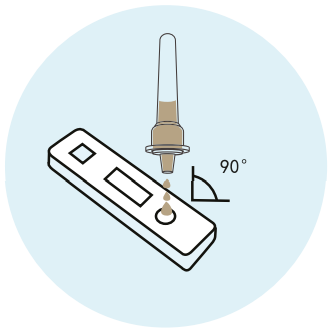
Apply To Cassette
Take out the cassette from the foil pouch and place it horizontally.
Gradually drip 3 drops of sample extraction into the sample hole.

Wait and Read Results
nterpret the result in 5-10 minutes.
Result after 10 minutes are considered invalid.
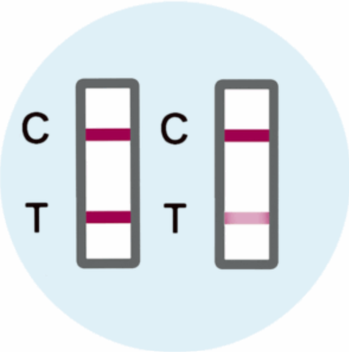
Positive Results
Both the C band and the T band are visible, regardless of whether the T band is strong or faint.
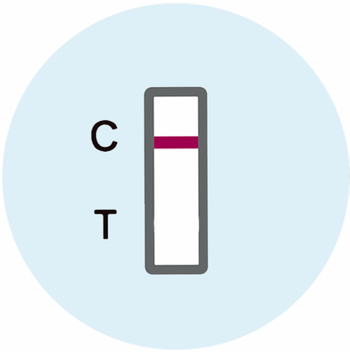
Negative Result
Only a clear C band is visible.
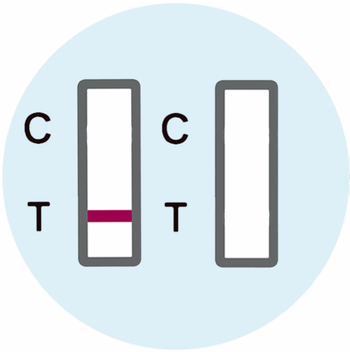
Invalid Result
No colored C band appears, regardless of whether the T band is visible.
A retest is recommended.