
Video instruction
Text instruction
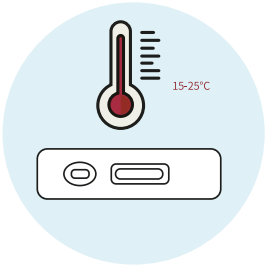
Preparations
Allow all materials, including specimen and test device, recover to 15–25°C before running the assay.
Take out the test card from the foil pouch and place it horizontally.
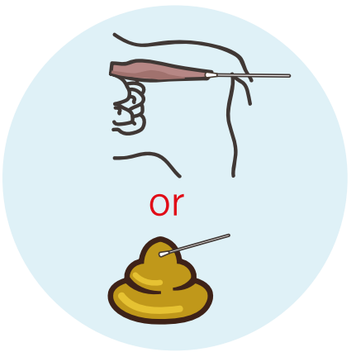
Collect Stool Sample
Collect fresh feces using the cotton swab.
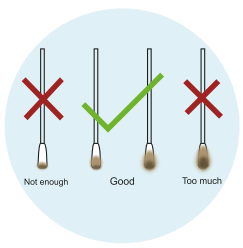
Collect The Correct Amount
The middle swab shows the correct amount of sample.
The swab should be evenly coated with a visible layer of sample, without clumps, to ensure accurate analysis.
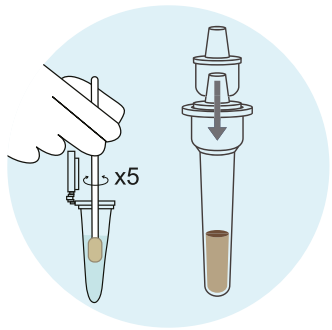
Mix the Swab in the Buffer Tube
Tear off the foil film of the extraction tube.
Immerse the swab into the extraction tube, and rotate the swab head in the sample diluent for at least 10 seconds.
Squeeze the swab head through the outer wall of the extraction tube at least 5 times to ensure that the sample can be fully eluted into the diluent.
Then squeeze the swab head as dry as possible through the outer wall of the extraction tube.
Discard the swab and cover the extraction tube for use.
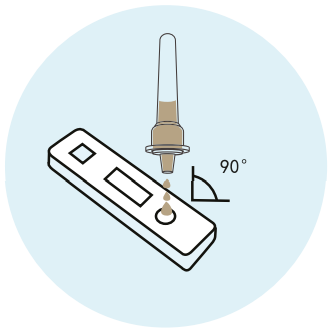
Apply To Cassette
Place the kit on a horizontal surface. Add 3 drops of the mixture into sample well (S) and start the timer.
Read the result in 10–30 minutes. The results are invalid after 30 minutes.
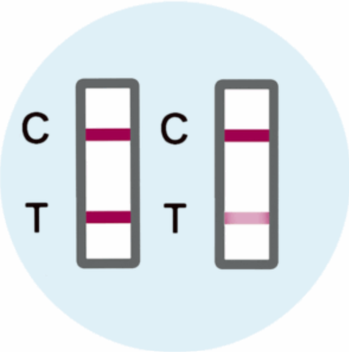
Positive Results
Both the C band and the T band are visible, regardless of whether the T band is strong or faint.
This result shows that the sample contained Giardia antigen.
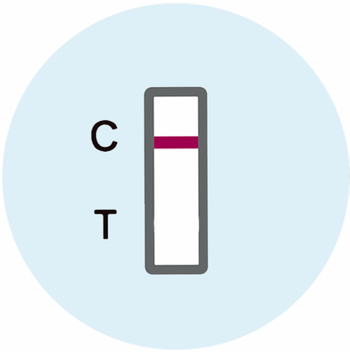
Negative Result
Only a clear C band is visible.
This result shows that the sample did not contain Giardia antigen.
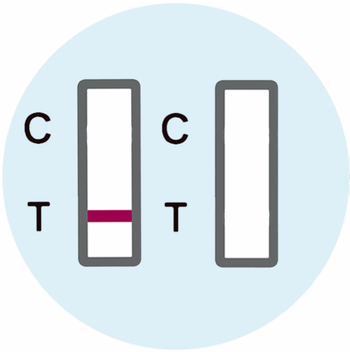
Invalid Result
No colored C band appears, regardless of whether the T band is visible.
A retest is recommended.