
Video instruction
Text instruction
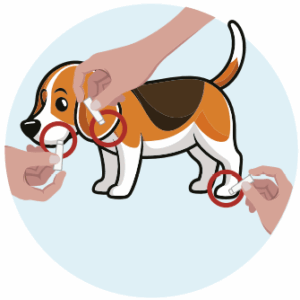
Sample Collection
Use the provided lancet to gently prick the dog's ear or paw.
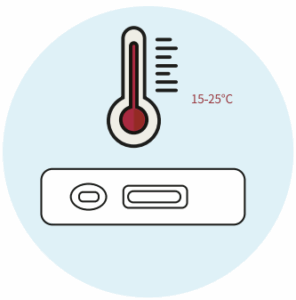
Preparation
If the test was stored in the refrigerator, allow all materials (including the test cassette and buffer) to reach room temperature (15–25°C / 59–77°F) before testing.
Prepare a clean and flat working surface. Take out the cassette from the foil pouch and place it horizontally.
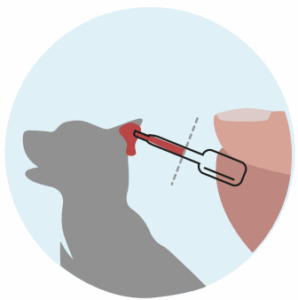
Collect Sample
Use pipette to collect serum, plasma or whole blood.
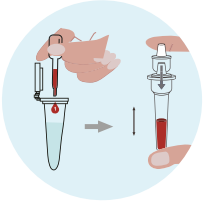
Mix the Sample
Add 4 drops of blood into the assay buffer vial and mix well to ensure the blood is fully diluted.
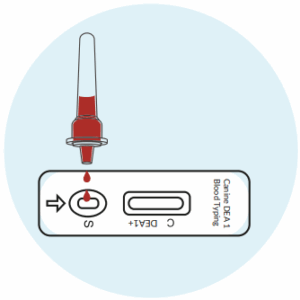
Apply Sample
Add 4 drops of the diluted sample into the sample hole of the test cassette.

Wait and Read Results
Interpret the result in 5–10 minutes.
Result after 10 minutes is considered invalid.
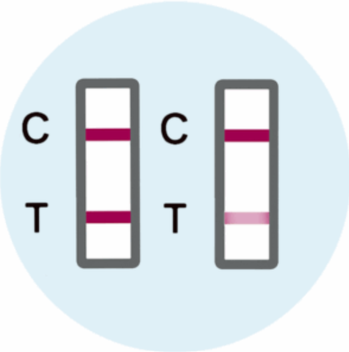
Positive Results
Both the C band and the T band are visible, regardless of whether the T band is strong or faint.
Note: If the result is positive, you should contact a veterinarian promptly for further examination and confirmation. Test results should always be evaluated together with clinical signs and professional veterinary advice. For the most accurate confirmation, additional methods such as PCR may be recommended by your veterinarian.
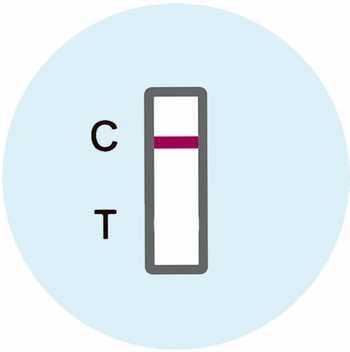
Negative Result
Only a clear C band is visible.
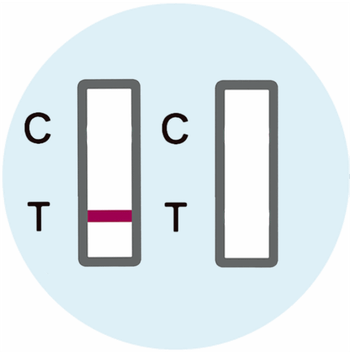
Invalid Result
No colored C band appears, regardless of whether the T band is visible.
A retest is recommended.