
Video instruction
Text instruction
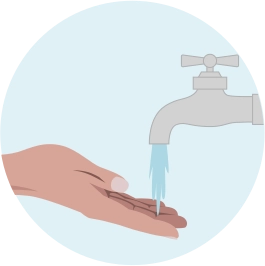
Wash Hands
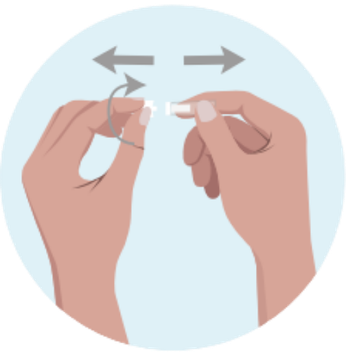
Prepare Lancet

Disinfect Finger
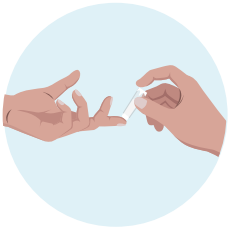
Prick Finger

Stimulate Blood Flow
We recommend that you stand up at this stage to let the blood in your arm flow downward.
Help the blood drops come out by massaging the finger toward the needle stick.
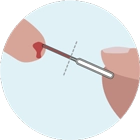
Collect Sample
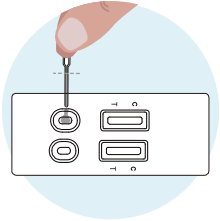
Apply To Cassette
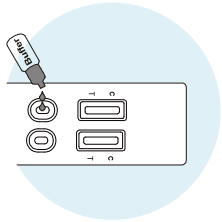
Add Buffer
Add 2 drops of buffer into Buffer well of test casette.
Wait 15 minutes for results.
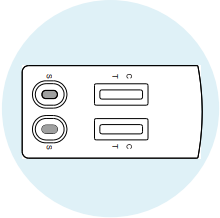
Interpret Results
Read your result after 15 minutes. Results are invalid after 20 minutes.
The test checks for IgG and IgM antibodies:
A positive IgG result indicates that you’ve had a past herpes infection.
A positive IgM result indicates that you have a recent or active infection.
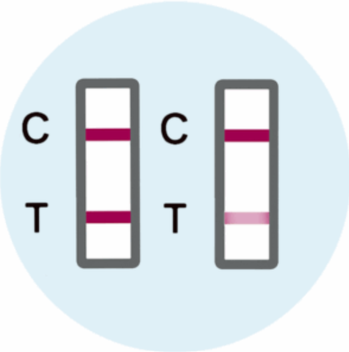
Positive Results
Two colored lines appear. One colored line should always appear in the control line region (C) and another line should be in the test line region.
*NOTE: The intensity of the color in the test line regions may vary depending on the concentration of HSV 1/2 antibodies present in the specimen. Therefore, any shade of color in the test line region should be considered positive.
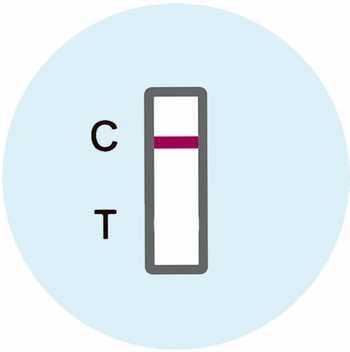
Negative Results
One colored line appears in the control line region (C). No line appears in the test line regions.
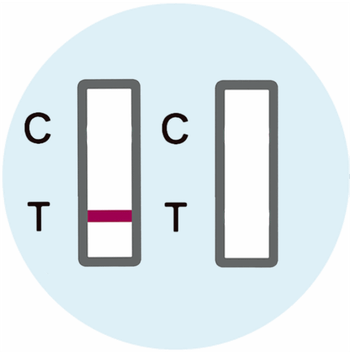
Invalid Results
Control line fails to appear.
Insufficient specimen volume or incorrect procedural techniques are the most likely reasons for control line failure.
Review the procedure and repeat the test with a new test. If the problem persists, discontinue using the test kit immediately and contact our support team.