
Video instruction
Text instruction
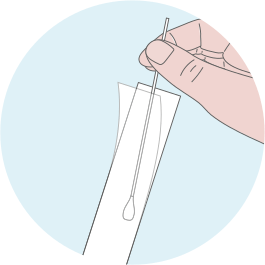
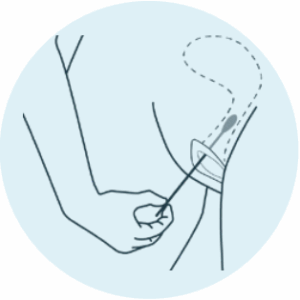
Collect Sample
Open the package containing the sterile swab.
Insert the swab into the inside of the vagina, samples are taken at the cervicosquamous junction or transition zone, and rotate for 10 seconds.
Pull the swab out carefully.
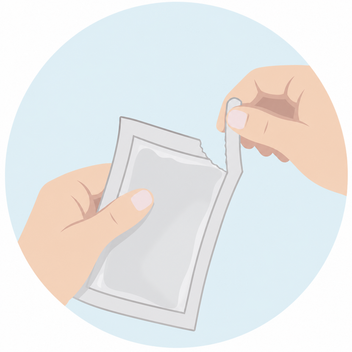
Open Foil Pouch An Grab The Cassette
Remove the test cassette from the sealed foil pouch and use it within one hour.
Best results will be obtained if the test is performed immediately after opening the foil pouch.
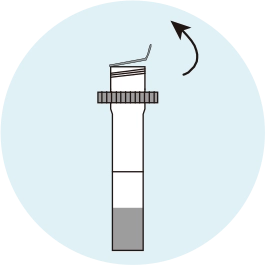
Open Tube
Open extraction tube.
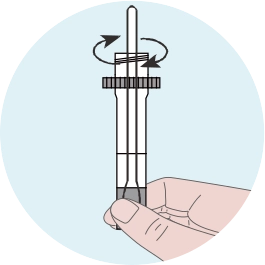
Mix Sample
Add the swab into the extraction tube, swirl/agitate the swab vigorously 15 times.
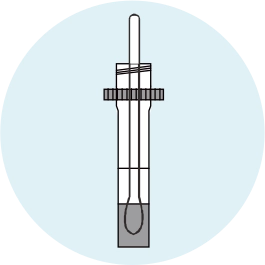
Soak Swab
Leave the swab to soak in the extraction tube for 1 minute.
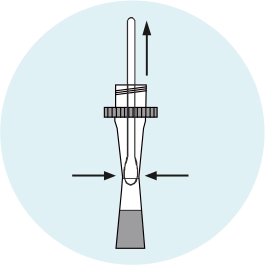
Remove Swab
Press the swab against the side of the tube and squeeze the bottom of the tube while removing the swab so that most of the liquid stays in the tube.
Discard the swab.
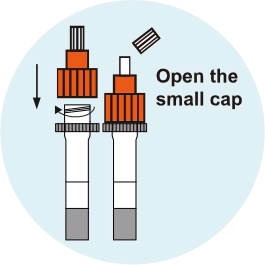
Attach Tip
Fit the dropper tip on top of the extraction tube.
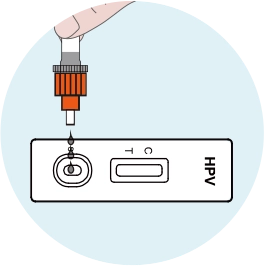
Apply Sample To The Cassette
Place the test cassette on a clean and evel surface.
Add three (3) drops of the solution to the sample well (s) and then start a 15 minute timer.
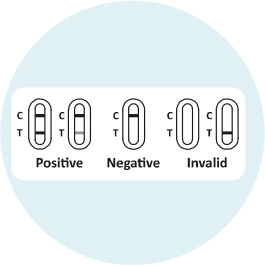
Read Results
Wait for the colored line(s) to appear.
The result should be read at 15 minutes, do not interpret the results after 20 minutes.
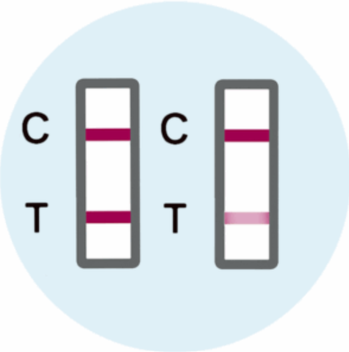
Positive Results
Two colored lines appear. One colored line should be in the control line region (C) and another colored line should be in the test line region (T).
A positive result indicates that HPV antigen was detected in the specimen.
Note: The intensity of the color in the test line region (T) will vary depending on the concentration of HPV antigens present in the specimen. Therefore, any shade of color in the test line region (T) should be considered positive.
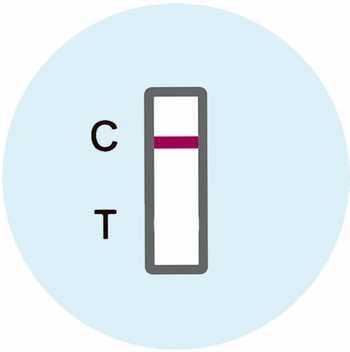
Negative Result
One colored line appears in the control line region (C). No line appears in the test line region (T).
A negative result indicates that HPV antigen is not present in the specimen, or is present below the detectable limit of the test.
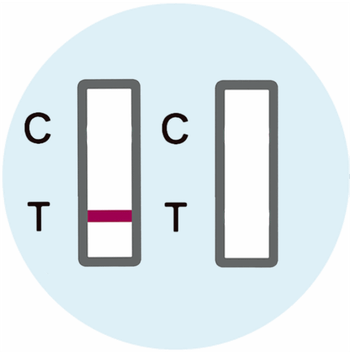
Invalid Result
Control line fails to appear.
Insufficient specimen volume or incorrect procedural techniques are the most likely reasons for control line failure.
Review the procedure and repeat the test with a new test.