
Video instruction
Text instruction
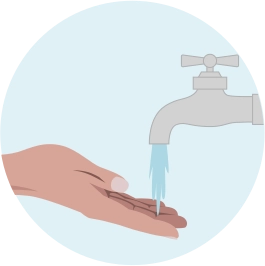
Wash Hands
Wash your hands with warm water and soap.
Note: Doing a blood test without stimulating blood circulation might prove difficult, so please do not skip this step!
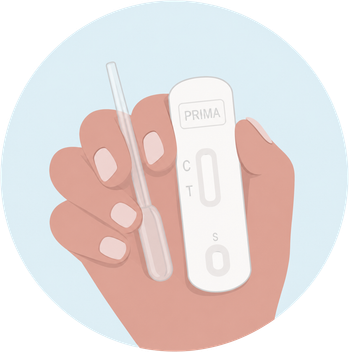
Grab The Cassette
Open the aluminium pouch, take out the test cassette.

Collect Urine
Collect urine in a clean clean, dry, residue-free container

Collect Sample With Pipette
Squeeze the pipette bulb and dip the pipette tip into the collected urine.
Release the bulb to collect the urine sample.
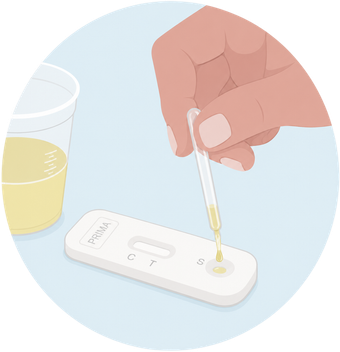
Apply To Cassette
Gently press the pipette bulb and deposit 3 drops of sample into the well (S) indicated on the cassette, wait 1-2 seconds between dispensing each drop.

Wait 5 Minutes
Wait 5 minutes and read the results as follows.
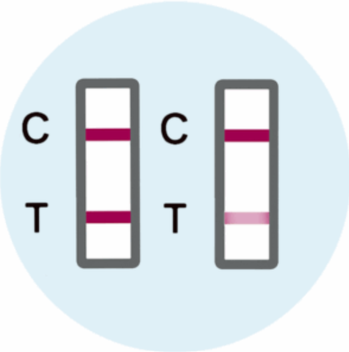
Negative Result
Both the C band and the T band are visible, regardless of whether the T band is strong or faint.
This result means that the levels of albumin in the urine are normal or lower than the value used to calibrate the test (10 μg/ml).
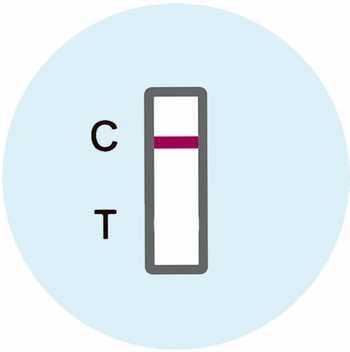
Positive Result
Only a clear C band is visible.
This result means the levels of albumin in the urine are higher than normal
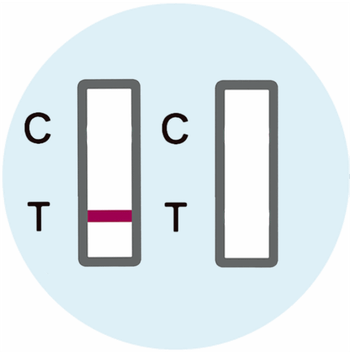
Invalid Result
No colored C band appears, regardless of whether the T band is visible.
In this case it is not possible to interpret the result of the test, which must be considered not valid. Repeat the test.