
Video instruction
Text instruction

Wash Hands
Wash your hands in warm water and massage your hand to increse blood flow. Dry your hands.
Shake your hands to get the blood flowing.
Note: Doing a blood test without stimulating blood circulation might prove difficult, so please do not skip this step!
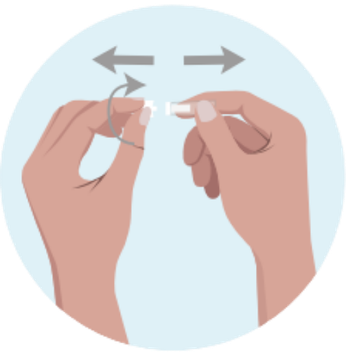
Prepare Lancet

Disinfect Finger

Prick Finger
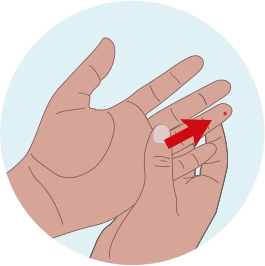
Stimulate Blood Flow
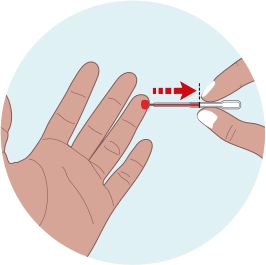
Collect Sample
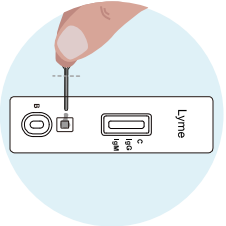
Apply To Cassette
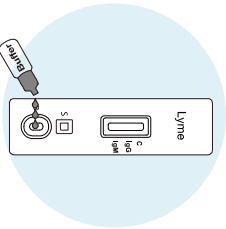
Add Buffer
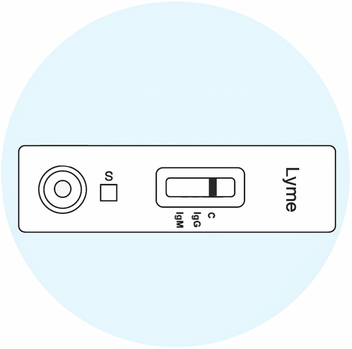
Interpret Results
Read your result at 10 minutes. Results are invalid after 20 minutes.
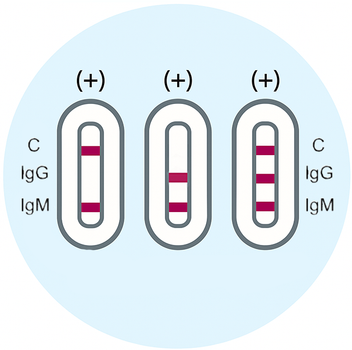
Positive Results
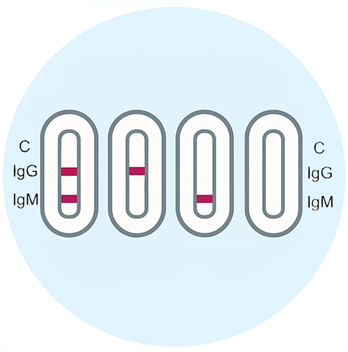
IgG POSITIVE:* Two colored lines appear. One colored line should always appear in the control line region (C) and another line should be in the IgG line region. Indicates a later stage or past Borrelia infection.
IgM POSITIVE:* Two colored lines appear. One colored line should always appear in the control line region (C) and another line should be in the IgM line region. Indicates an early or current Borrelia infection.
IgG and IgM POSITIVE:* Three colored lines appear. One colored line should always appear in the control line region (C) and two test lines should be in the IgG line region and IgM line region. Indicates a current Borrelia infection that may be in transition from the early to later stage.
Note: The intensity of the color in the test line regions may vary depending on the concentration of anti-Lyme antibodies present in the specimen. Therefore, any shade of color in the test line region should be considered positive.
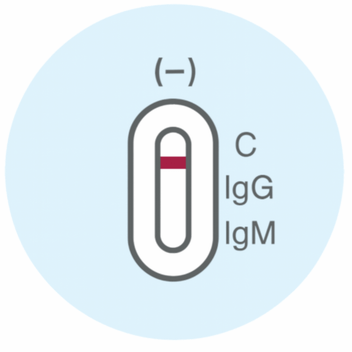
Negative Results
NEGATIVE: One colored line appears in the control line region (C). No line appears in the IgG region or the IgM region.
Invalid Results
INVALID: Control line fails to appear. Insufficient specimen volume or incorrect procedural techniques are the most likely reasons for control line failure. Review the procedure and repeat the test with a new test. If the problem persists, discontinue using the test kit immediately and contact your local distributor.