
Video instruction
Text instruction

Register Test-ID
Before you start, you need to register your test-ID. Your test kit contains a sticker with your unique test-ID. If you need help creating an account, you can check our guide.
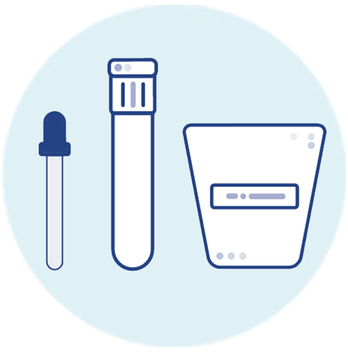
Lay Out Items And Label
Lay out all the contents of your kit.
Label the collection tube with the the patient’s name and date of collection and test-ID.
Note: Unlabeled specimen tubes will not be processed. Do not forget to attach your Test-ID.
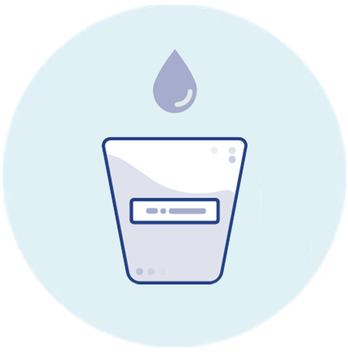
Collect Urine Sample
Perform a mid-stream catch (begin urinating, then start collecting the specimen) filling the collection up 1/2 full.
Empty the remaining volume of the bladder into the toilet.
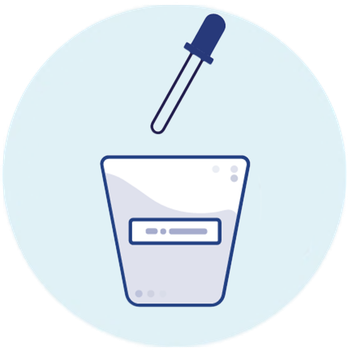
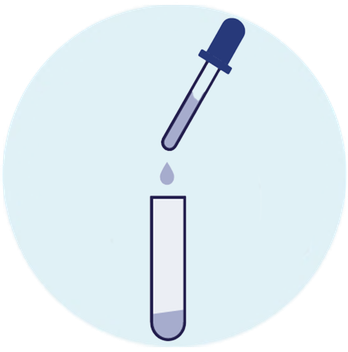
Transfer Urine With Pipette
Use the pipette provided to transfer urine from the cup into the transfer tube.
Squeeze the top bubble of the pipet to remove all the air.
Place the pipette into the collected urine cup and release the pressure on the top of the pipette. This will draw urine into the pipette.
Move the full pipette into the transfer tube and squeeze the top bubble to release the urine into the tube
Repeat as needed until you fill the collection tube to the line marking 7 ml.
Place the cap back onto the transfer tube and twist it to seal the sample tightly.
Sending Sample
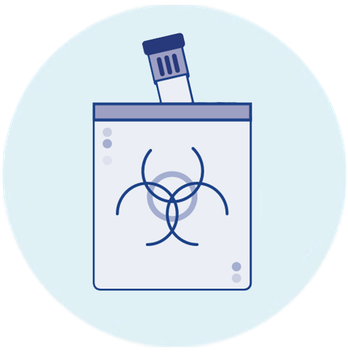
Place the transport tube into the biohazard bag with the absorbent pad, then seal the bag.
Enclose the biohazard bag within the box, and place it into the return shipping envelope.
Ship the specimen in the provided bag to the lab. Cold pack not required.
Doube check that everything has been labeled correctly before sending
Note: Send your sample at the beginning of the week (preferably Monday or Tuesday) to avoid delays. Keep the sample refrigerated until sending.
Wait 10-15 Business Days For Results
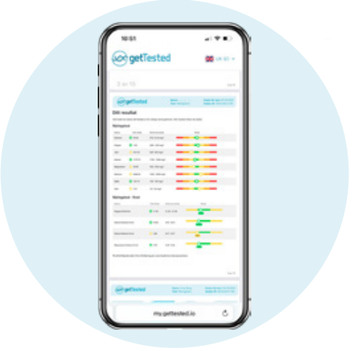
Results are usually available 10–15 business days after we receive your sample.
As soon as your results are ready, we'll notify you by email and text message. Your results will then be available to view in your my.gettested.io account.