
Video instruction
Text instruction
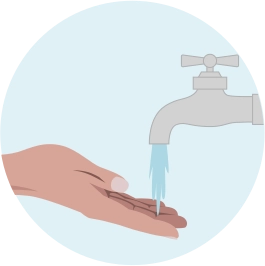
Wash Hands In Warm Water
Wash your hands in hot water for about a minute. This will increase blood circulation in your fingers. Dry your hands.
Note: Doing a blood test without stimulating blood circulation might prove difficult, so please do not skip this step.
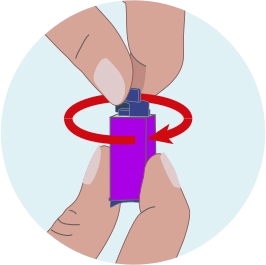
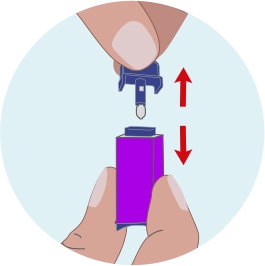
Prepare Lancet
Carefully rotate the protective cap of the sterile lancet 360° without pulling it.
Extract and discard the released cap

Disinfect Finger
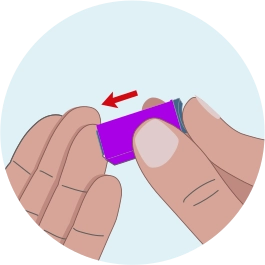
Prick Finger
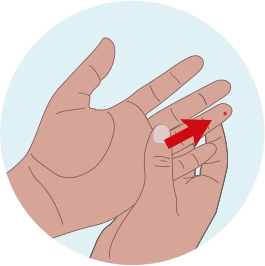
Massage Finger
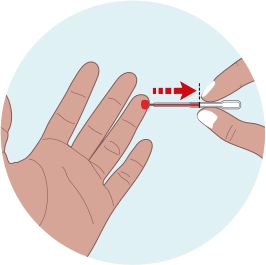
Collect Blood With Pipette
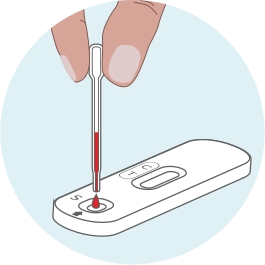
Apply Blood To Cassette
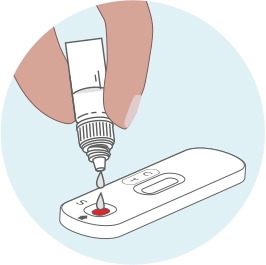
Apply Buffer To Cassette
Unscrew the blue cap from the dropper vial (leave the white cap tightly screwed on).
Deposit 2 drops into the well indicated on the cassett e (S), wait for 5 seconds between the first and second drop.

Wait and Read Results
Wait 5–10 minutes before reading the result. Do not interpret results after 10 minutes, as they are considered invalid.
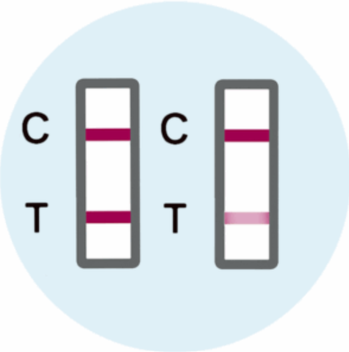
Positive Results
Both the C band and the T band are visible, regardless of whether the T band is strong or faint.
This result means that the value of Prostate-Specific Antigen (PSA) in the blood is higher than normal, it is recommended to consult a physician.
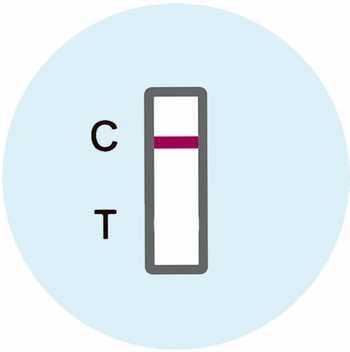
Negative Result
Only a clear C band is visible.
This means that the value of Prostate-Specific Antigen (PSA) in the blood is normal.
A negative result does not exclude the possibility of prostatic pathologies.
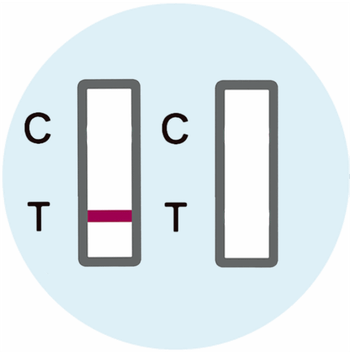
Invalid Result
No colored C band appears, regardless of whether the T band is visible.
In this case it is not possible to interpret the result of the test, which must be considered not valid. Repeat the test with a new blood sample.