
Video instruction
Text instruction
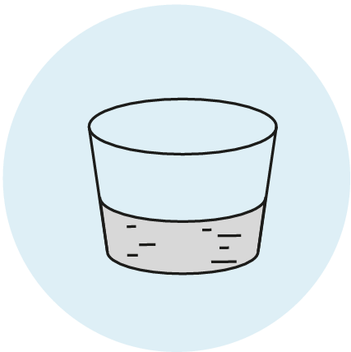
Sample Collection
Masturbate and collect semen directly into the provided collection cup .
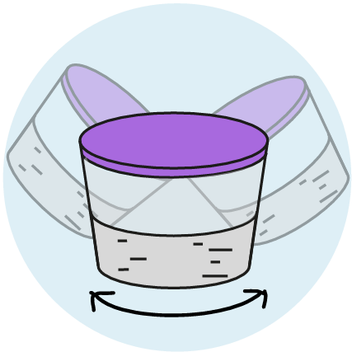
Shake Jar
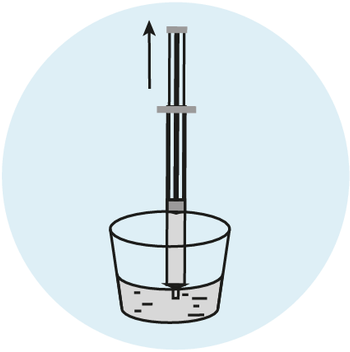
Transfer Sample
Use the provided transfer device/syringe to collect 0.1 mL of semen, marked on the device.
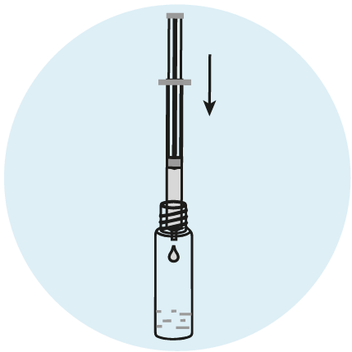
Add To Vial
Add this to the vial containing the dilution buffer.
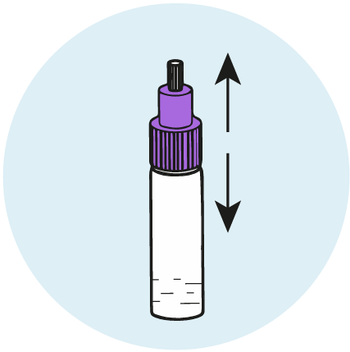
Mix
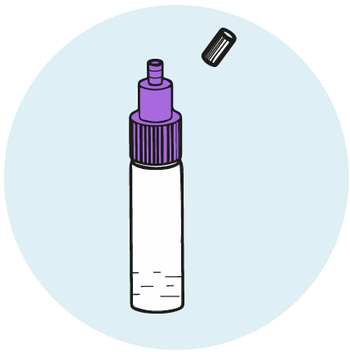
Prepare for Testing
Hold the vial upright and open the cap.
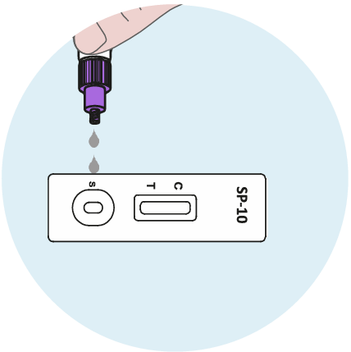
Apply to Test Cassette
Add 2 full drops (~80 μL) of the diluted sample into the specimen well (S) of the test cassette. Start the timer immediately.
Read results at 5 minutes, after 10 minutes results are no longer valid.
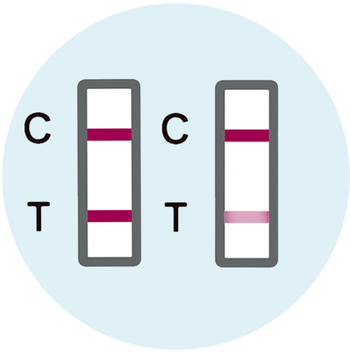
Positive Results / Normal Levels
Two colored lines appear.
One colored line should be in the control line region (C) and another colored line should be in the test line region (T).
Note: The intensity of the color in the test line region (T) will vary depending on the concentration of SP-10 protein present in the specimen. Therefore, any shade of color in the test line region (T) should be considered normal.
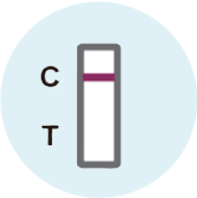
Negative Results
One colored line appears in the control line region (C). No line appears in the test line region (T).
A negative result indicates that results are abnormal, or is present below the detectable level of the test.
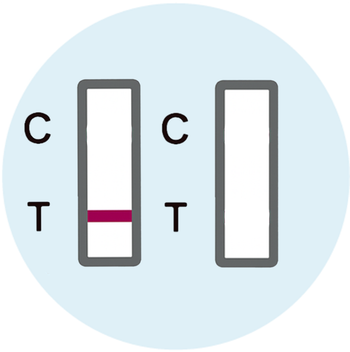
Invalid Results
Control line fails to appear.
Test did not work. Insufficient specimen volume or incorrect procedural techniques are the most likely reasons for control line failure.
Review the procedure and repeat the test with a new cassette. If the problem persists, discontinue using the test kit and contact our support team.