
Video instruction
Text instruction
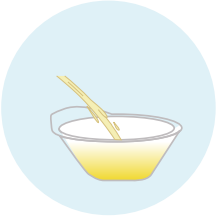
1
Step 1
Collect the urine Collect part of the urine in the supplied plastic cup or using a clean cup. Do not urinate for at least 1-2 hours before collecting your sample to ensure a concentrated urine sample. Best to do with first morning urine.
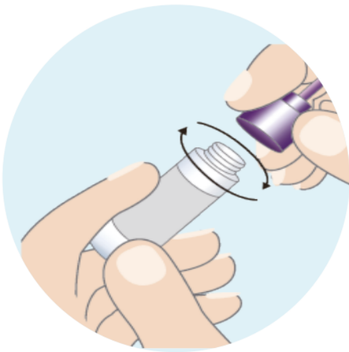
2
Step 2
Open Buffer Bottle Carefully open the Buffer Bottle and make sure not to spill and pour the Sample Buffer into the collected Urine cup.
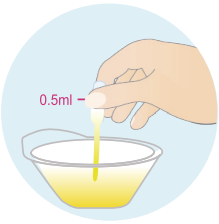
3
Step 3
Pipette Pipette 5ml of the collected urine.
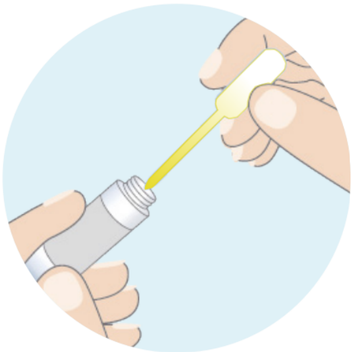
4
Step 4
Add Urine to Buffer Bottle Add 5ml of urine to the Buffer Bottle. Use the dropper to mix the urine and buffer ten times.
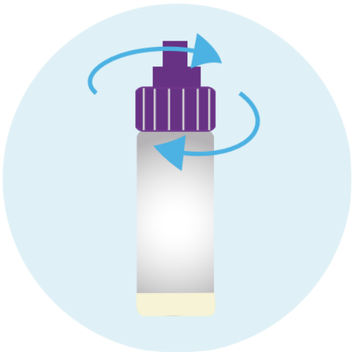
5
Step 5
Put Cap Back On Buffer Tube Attach the purple cap to the top of the buffer bottle.
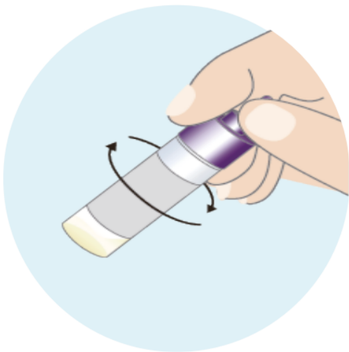
6
Step 6
Swirl tube Swirl the buffer bottle 5 or more times.
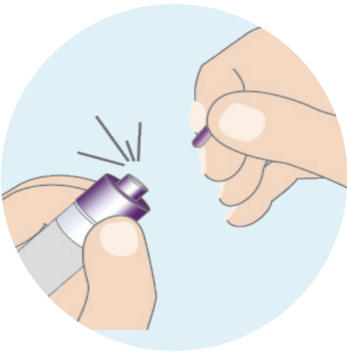
7
Step 7
Break off the purple tip.
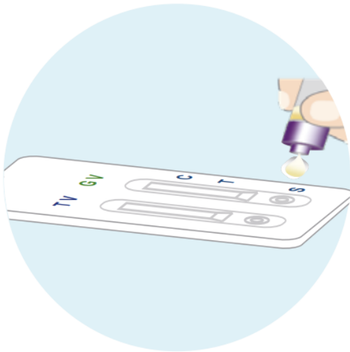
8
Step 8
Apply liquid to cassette Squeeze out 4 drops of the liquid from the tube into each of the three circular wells marked with an 'S' on the bottom of the test panel.
9
Step 9
Wait for results Place the test cassette on a flat surface and read the result after 15 minutes . Do not touch the test cassette during this time. Results are considered invalid after 30 minutes.
10
Step 10
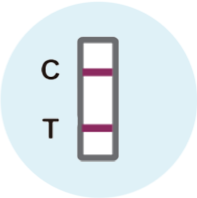
Positive results. Find result window and look carefully for two lines. If you see two lines, Control (C) line and Test (T) line, this means the bacteria and or pathogen is detected. If the result is positive, please contact your doctor .
11
Step 11
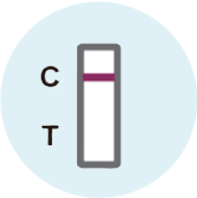
Negative results. Find result window and look for a single line in window. If you see only the Control (C) line is present this means the bacteria and or pathogen is not detected.
12
Step 12
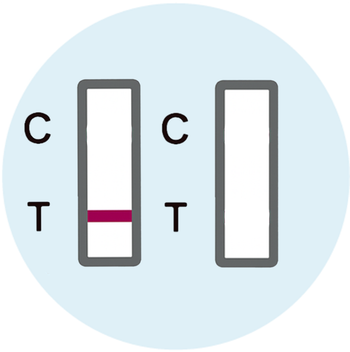
Invalid results. Test did not work. Find the result window. If NO Control (C) line is present, the test did not work and is considered Invalid. This may be the result of an incorrect test procedure and the test should be repeated.