
Video instruction
Text instruction
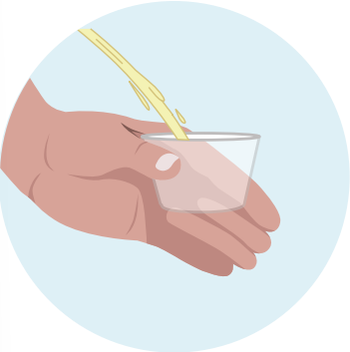
Collect the urine
Collect part of the urine in the supplied plastic cup or using a clean cup.
Do not urinate for at least 1-2 hours before collecting your sample to ensure a concentrated urine sample. Best to do with first morning urine.
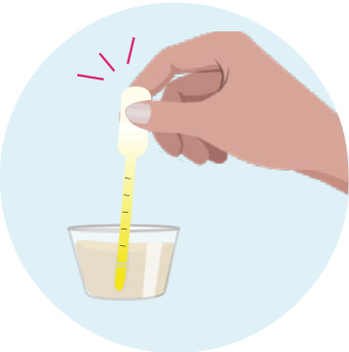
Pipette Urine
Pipette 5ml of the collected urine.
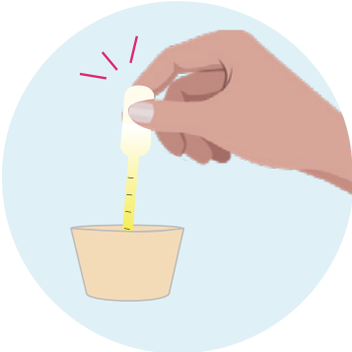
Add Sample To Reaction Cup
Add the 5ml of the collected urine into the Reaction Cup.
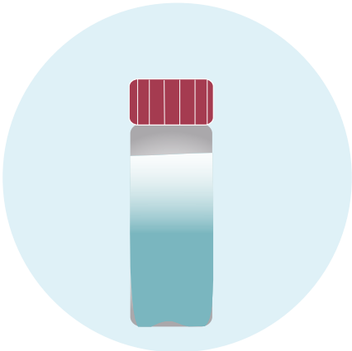
Open Buffer Bottle
Carefully open the Buffer Bottle and make sure not to spill.
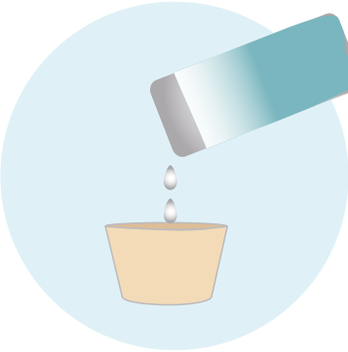
Add Sample Buffer
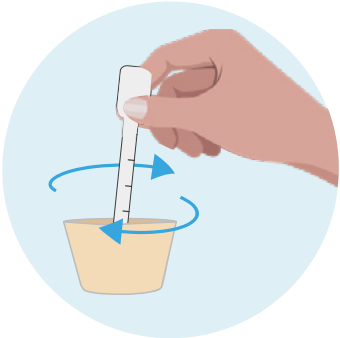
Mix Sample
Use the dropper to mix the urine and buffer in a similar clockwise direction for total ten (10) times.
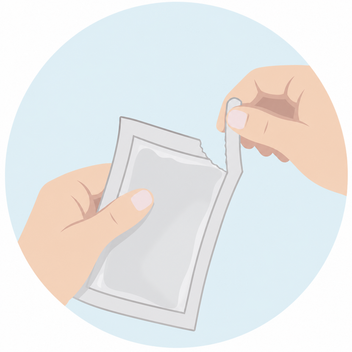
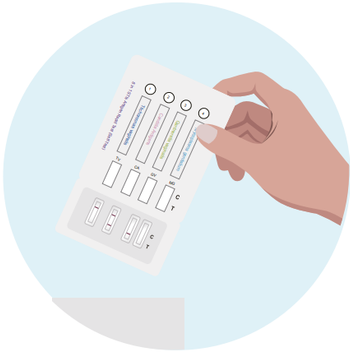
Grab Cassette
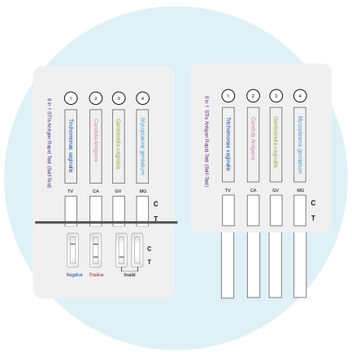
Open Cover
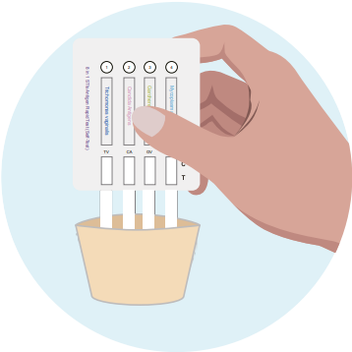
Perform Test
Carefully place the test cassette into the reaction cup and observe to make sure that each test strip immersed in the sample buffer.
The liquid shall NOT exceed the height indication by the arrow on the test strip.
Insert the cassette into the Reaction Cup for 1 minute.
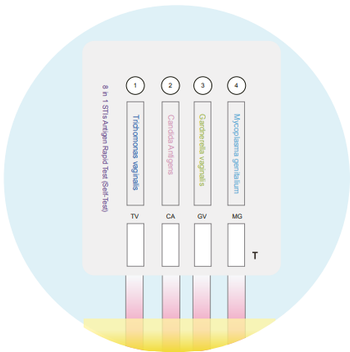
Test Strip Migration
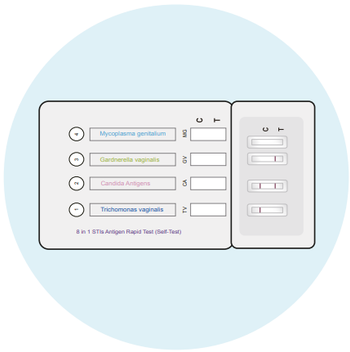
Put The Cover Back On
After one minute has passed, remove the test cassette from the reaction cup and close the bottom cover.
Wait For Results
Place the test cassette on a flat surface and read the result after 15 minutes.
Do not touch the test cassette during this time.
Results are considered invalid after 30 minutes.
Note: Read and interpret the results using the reference chart that you received in your kit
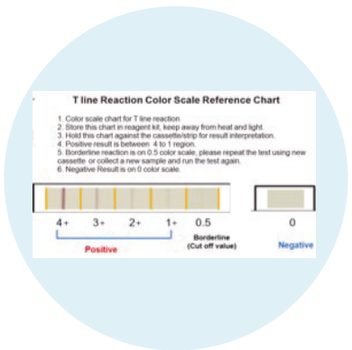
Interpret Results
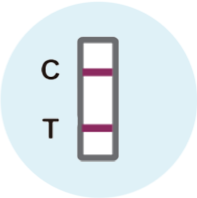
Positive Results
Find result window and look carefully for two lines. If you see two lines, Control (C) line and Test (T) line, this means the bacteria and or pathogen is detected. If the result is positive, please contact your doctor .
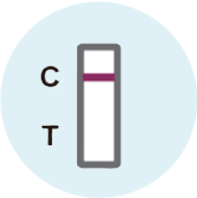
Negative Results
Find result window and look for a single line in window.
If you see only the Control (C) line is present this means the bacteria and or pathogen is not detected.
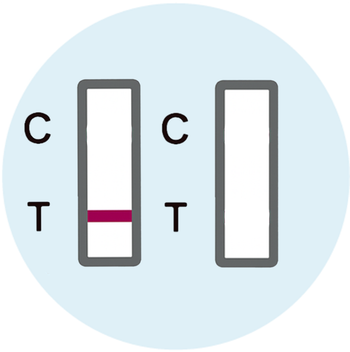
Invalid Results
Test did not work. Find the result window. If NO Control (C) line is present, the test did not work and is considered Invalid.
This may be the result of an incorrect test procedure and the test should be repeated.
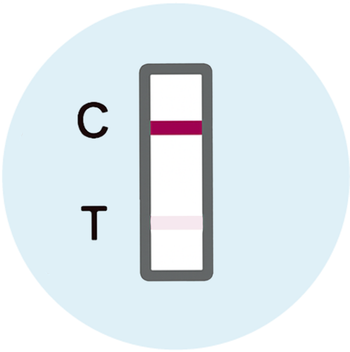
Borderline Results
A borderline cut-off value means the test result is close to the threshold between “normal” and “abnormal,” so it’s not clearly positive or negative.
Repeat the test after some time to confirm the result. Review symptoms and history together with the result. If you feel unsure, contact our support and we will help you.