
Video instruction
Text instruction

Register Test-ID
Before you start, you need to register your test-ID. Your test kit contains a sticker with your unique test-ID. If you need help creating an account, you can check our guide.
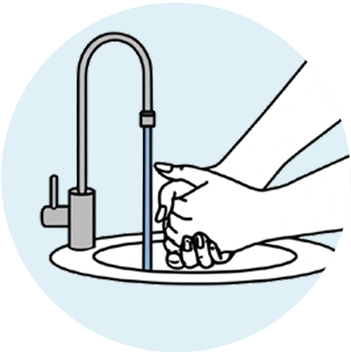
Wash Your Hands
Wash your hands thoroughly with soap before starting the saliva collection.
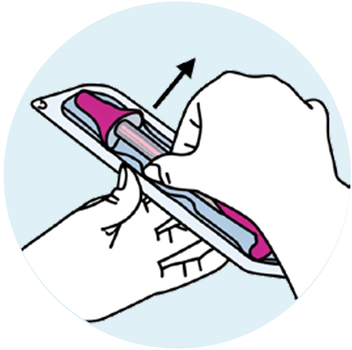
Remove the Device From the Packaging
Remove the Evalyn Brush from the packaging.
Do not throw the packaging away, as it will be used later to return the Evalyn Brush to the laboratory.
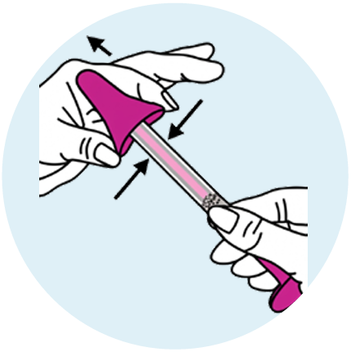
Remove the Pink Cap
Press the sides of the pink cap together using your thumb and index finger, then remove the cap from the Evalyn Brush as pictured.
Do not touch the white brush tip with your hands.
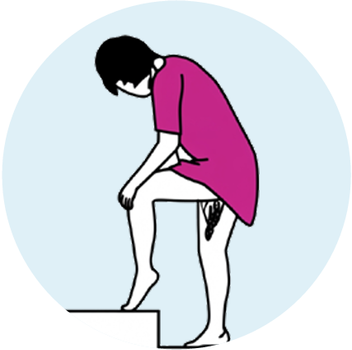
Get Into Position
Obtain the sample whilst in a standing position. Assume a comfortable stance (e.g. as if you were about to insert a tampon).
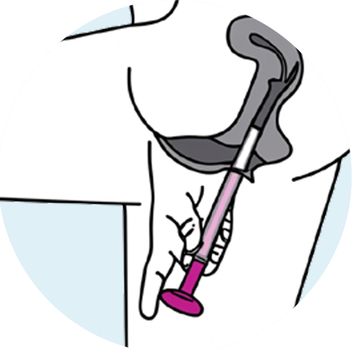
Insert The Tool
Spread the labia with one hand, and with the other, insert the Evalyn Brush into the vagina until the wings touch the labia.
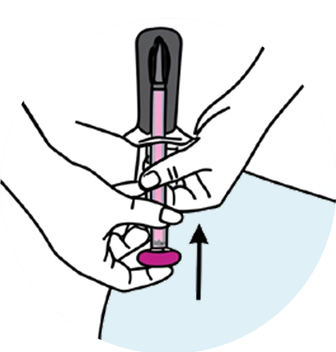
Push the Pink Plunger
Hold the transparent casing with one hand, and with your other hand, push the pink plunger in the direction of the transparent casing.
You will hear and feel a clisk whenthe brush is in the right position with the pink plunger directly against the casing.
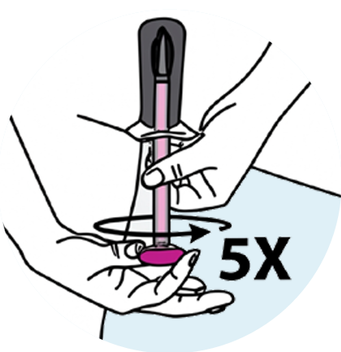
Rotate the Plunger 5 Times
Turn the pink plunger five rotations in the same direction.
After each rotation, you will hear a click. This helps you count the rotations.
After turning the plunger five times, carefully remove the Evalyn Brush.
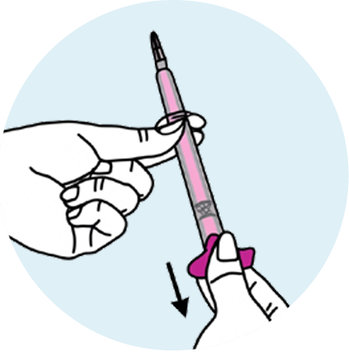
Retract the Brush
Hold the transparent casing with one hand, and with your other hand, pull the pink plunger until the white brush disappears into the casing.
Do not touch the top part of the Evalyn Brush above the wings.
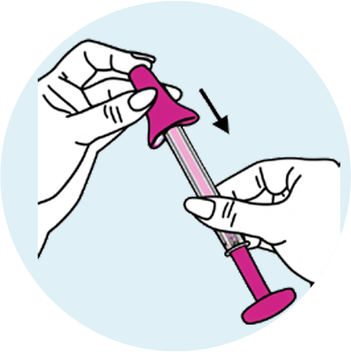
Replace the Pink Cap
Hold the transparent end to ensure the white brush does not extend again. Place the pink cap back on the Evalyn Brush while using your thumb and index finger.
You will hear a click when it is properly in place.
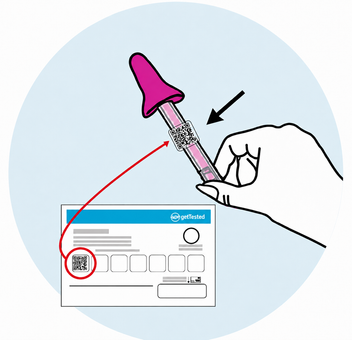
Attach The Test ID Sticker
Attach the test ID QR code sticker to the Evalyn Brush.
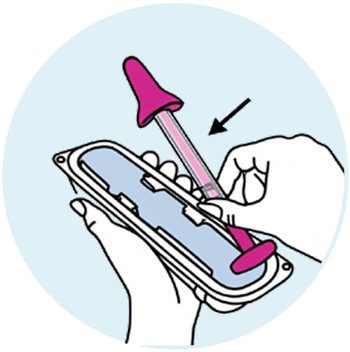
Place the Device Back Into the Packaging
Put the Evalyn Brush back inside the packaging.
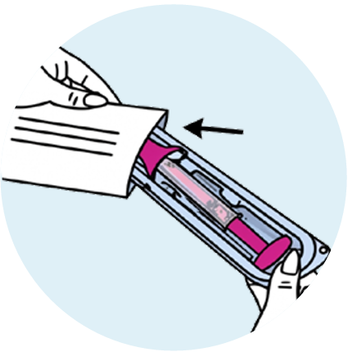
Place the Packaging Into the Plastic Bag
Place the packaging containing the Evalyn Brush into the provided plastic bag and seal the it.
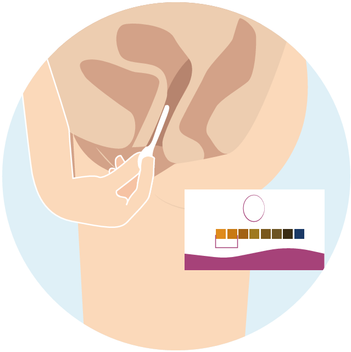
Perfom The pH Value Rapid Test
Now determine your vaginal pH level using the included pH self-test.
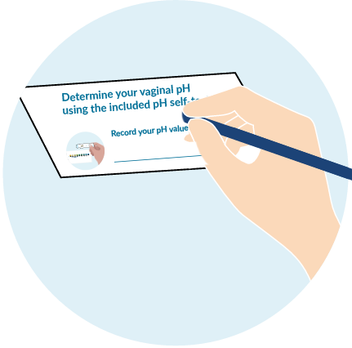
Note The Value
Then, record the pH value and your name on the request form.
Note: You do not need to send he pH-value tool, just make sure to send the card with the written value.
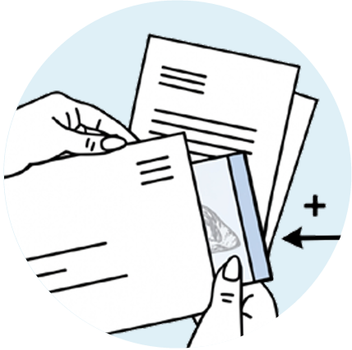
Return the Sample
Pack the Evalyn Brush and the completed request form (with your pH value) in the provided mailing bag and seal it.
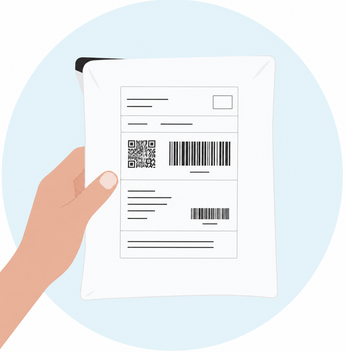
Sending Sample
Send your sample at the beginning of the week (preferably Monday or Tuesday) to avoid delays.
Keep the sample refrigerated until sending.