
Text instruction
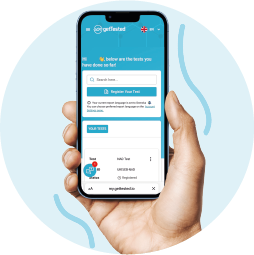
Create account
Before you start, you need to create an account (Click Sign up)
and register your test. Your test kit contains a sticker with your
unique test ID. Create account and register your test ID at
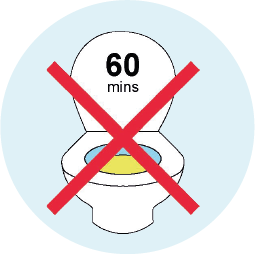
Please read all instructions
Please read all instructions before starting the sample collection.
Do not use this kit if you have urinated within the last 60 minutes.
For best results, use the first urine of the morning.
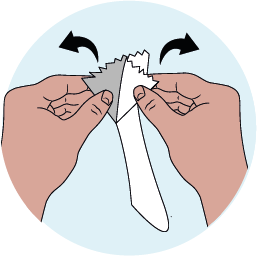
Locate the serrated edge of the pouch
Locate the serrated edge of the pouch containing the pipette and the tube.
Peel from the corner to open the package.
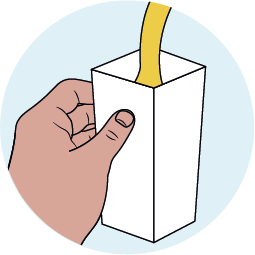
Urinate into the collection cup
Urinate into the collection cup, filling it to between 1/3 and 1/2 of its capacity.
Collect only the first part of the urine stream.
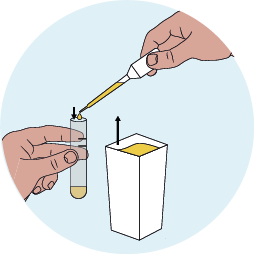
Insert the pipette into the cup
Insert the pipette into the cup. Squeeze and release the bulb once to draw urine
into the pipette.
Note: The pipette will not fill completely with urine.
Note: The pipette will not fill completely with urine.
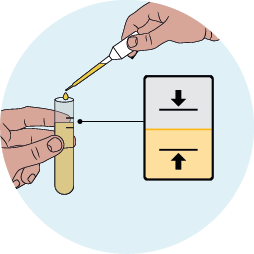
Place the tip of the pipette into the collection tube
Place the tip of the pipette into the collection tube, above the liquid.
Gently squeeze the bulb to fill the tube with urine until the level is between
the lines on the side of the tube.
Do not fill the tube beyond the maximum mark, or the sample will be rejected.
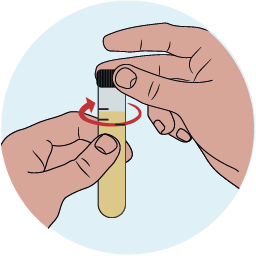
Twist the cap of the collection tube
Twist the cap of the collection tube and make sure it is closed evenly and securely.
Do not return the sample if the contents have spilled.
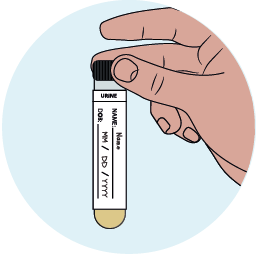
Place the completed sample
Place the completed sample label along the tube, including your name, date of birth,
and collection date.
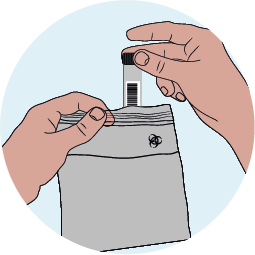
Place the tube in a separate
Place the tube in a separate biohazard bag and seal it securely.
Make sure the absorbent pad is inside the biohazard bag along with the sample.
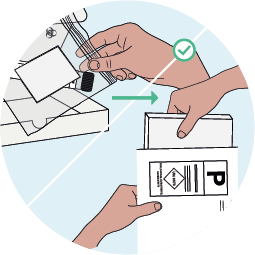
Place all sealed biohazard bags
Place all sealed biohazard bags into the cardboard box and close it securely.
Put the box into the return envelope and seal it.
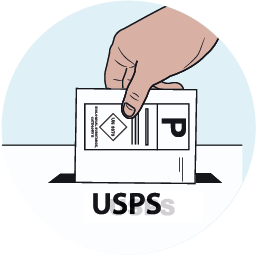
Return before the last pickup
Return before the last pickup of the day at any USPS access point, store or dropbox, or schedule a pickup at imh.to/schedule-usps